
Ruby on Rails Mac System Configuration
In this lesson, you will learn how to install the necessary dependencies that you'll need to be successful in this course.
Note that this tutorial is designed to be implemented by Mac users. Unfortunately for PC users, Rails works best on Mac. I would recommend considering a Linux installation on your PC to ensure that you'll be able to proceed successfully through this course.
Step 1: Install the X-Code Command Line Tools
The first thing we need to do is install the X-Code Command Line Tools on your Mac.
Before you try to install it, you should first see if it is already installed on your machine. You can do this by typing the following statement into your command line interface:
xcode-select -pIf the X-Code Command Line Tools are already installed on your computer, then your terminal will print the location of their installation.
If they are not already installed on your computer, then you can install with the following command:
xcode-select --installStep 2: Install Git
The next task we need to complete is the installation of git, which is an open-source version control tool used by millions of developers around the world.
If you've ever heard of the companies GitHub and GitLab, they are both billion-dollar businesses built on improving the capabilities that git provides developers.
First, let's test if git is installed on your computer. Open your command line interface and type the command git. If your terminal prints a list of instructions, then git is already installed on your machine.
If git is not already installed on your machine, then a popup will appear asking you to install it. If, for some reason, that popup did not appear, then you can install git using the instructions on their website.
Step 3: Install Homebrew on Your Mac
The next thing we need to do is install Homebrew, which is a package manager for MacOS. Homebrew allows you to easily install software libraries that will make it easier and faster for you to code your own software applications.
First, navigate to Homebrew's website. You will see something that looks like this:

To install Homebrew on your machine, copy and paste the command from Homebrew's home page into your command line interface. From there, follow the instructions and Homebrew will be installed to your computer!
Note that this can take several minutes because of the complexity of the Homebrew package management system.
You might be wondering why we'll be using Homebrew instead of manually installing our external software libraries.
Well, Homebrew makes it easy to import dependencies that themselves have other dependencies. When you import a single software library, that library typically has other libraries that it is built on. A single import can actually pull in dozens (if not hundreds) of libraries because of this dependency chain.
Homebrew is designed to handle all of this complexity without a hiccup.
Step 4: Install the GNU Privacy Guard
Our next step is to install the GNU Privacy Guard, which is an important security tool that allows you to connect to outside dependencies.
We will be using the GNU Privacy Guard to install the Ruby Version Manager later in this tutorial.
Fortunately, installing the GNU Privacy Guard is very easy now that Homebrew is running on our machine. Simply execute the following command at your command line interface:
brew install gpgHomebrew will then execute the various commands required to install GPG to your local machine.
Step 5: Install the Ruby Version Manager (RVM)
This next section will be longer than some of the other installation steps in this tutorial because the Ruby Version Manager is a very important tool for any Rails developer.
To start, navigate to the RVM website. It will look like this:
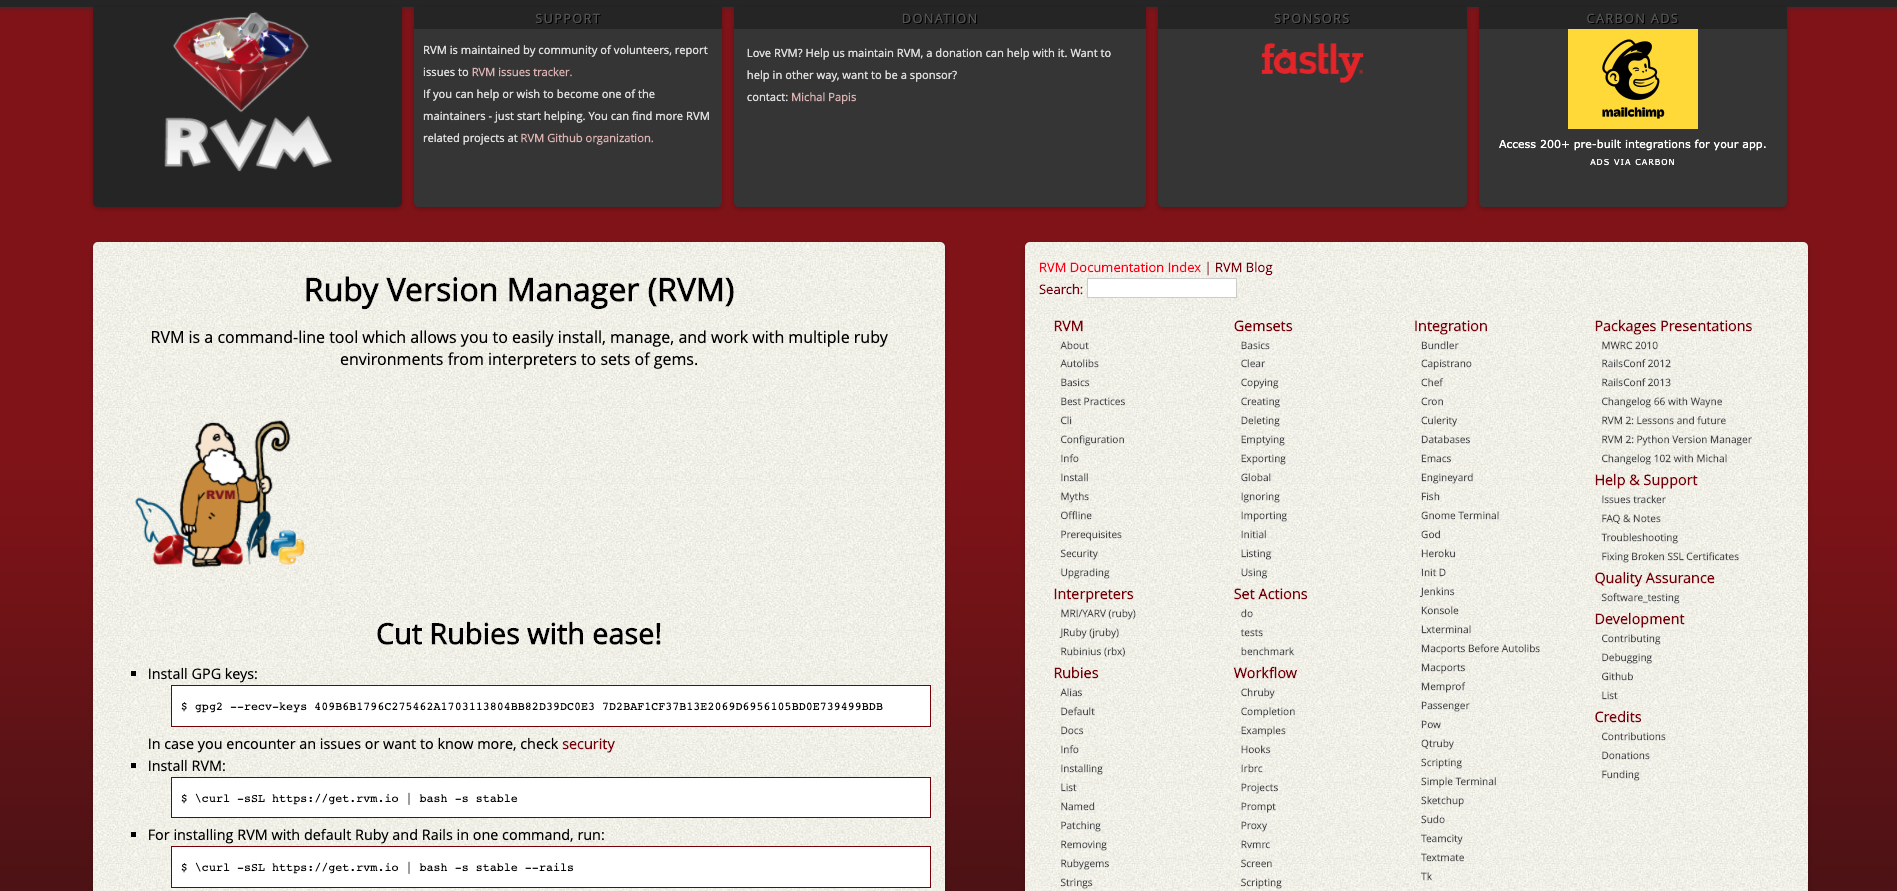
To start, you'll need to run a command that installs RVM's GPG keys. It will be shown on the homepage of the RVM website. The command looks something like this:
gpg2 --recv-keys 409B6B1796C275462A1703113804BB82D39DC0E3 7D2BAF1CF37B13E2069D6956105BD0E739499BDBOnce that is done, there will be a command under the heading Install RVM that looks like this:
\curl -sSL https://get.rvm.io | bash -s stableRun this command at your command line interface to begin your installation of the Ruby Version Manager. If this is the first time you have ever installed the RVM, you may need to exit and restart your terminal for the installation to take effect.
To test whether RVM has been successfully installed on your machine, you can run the rvm list command, which lists all the versions of Ruby that are currently installed on your machine.
If RVM has been successfully installed, the output of this command should be something like this:
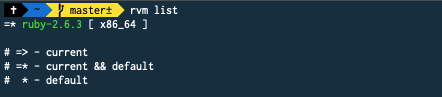
In my case, Ruby 2.6.3 is showing as the only version of the language installed on my computer.
Why is exactly one version of the Ruby language showing in RVM? Well, I am writing this course from scratch on a MacOS machine, and Ruby comes pre-installed on all Mac devices. In my case, version 2.6.3 was the latest stable version when this Mac was shipped to its retailer.
Another question that you may have is why we would want to use multiple versions of Ruby on our machine.
Why not always use the latest version?
Well, when you invest the time and resources to build a Ruby (or Ruby on Rails) application, then it is typically not worthwhile to always migrate that application to the latest version of Ruby. Because of this, it's useful to be able to switch back to older versions of Ruby when you work on legacy applications.
Let's continue by learning some of the most important functionality of the Ruby Version Manager.
To install a new version of Ruby using the RVM, you can type rvm install X.X.X on your command line, where X.X.X is the version you'd like to install.
As an example, you could install Ruby 2.4.0 with the following command:
rvm install 2.4.0Installing new versions of Ruby can take a fair amount of time depending on the speed of your machine and your network.
Once the installation is complete, you can run the rvm list command to see if its been installed properly:

As you can see, Ruby 2.4.0 now shows in our list of installed Ruby versions.
Let's also note some special labels that the RVM applies to the different version of Ruby shown using the rvm list command:
# => - current

# =* - current && default

#  * - default
These labels allow us to easily see what the current and default language versions are in the RVM.
To switch to a different version of Ruby, we use the rvm use X.X.X command. As you can see in the above screenshot, installing Ruby 2.4.0 made the RVM switch us to that version of the language.
We can switch to our previous Ruby 2.6.3 specification with the following command:
rvm use 2.6.3Step 6: Install and Configure Your RubyGem Library
RubyGems is a package manager for the Ruby programming language. It comes with a command-line tool called gem which allows you to easily install Ruby libraries, also called gems.
In this section, we will install and configure your RubyGem library.
First, let's determine which version of RubyGems we have installed. We can do this with the following statement at the command line:
gem -vIn my case, I am operating on version 3.0.8.
Next, let's update all of the gems that are already installed on our computer. We can do this with the following command:
gem update --systemNext, let's see our list of preconfigured gemsets.
A gemset is simply a group of Ruby gems that are grouped together. The idea is to create a gemset for each project that allows you to easily move between projects without having to manually change which gems you have installed. For any developers familiar with Python, gemsets are similar to virtual environments specified with a requirements.txt file.
You can print your list of gemsets with the following command:
rvm gemset listThis should print two gemsets: default and global. A => operator should tell you that the default gemset is currently active.
Let's activate our global gemset by typing in the following command:
rvm gemset use globalAfter switching to the global gemset, you can use the following command to see exactly what gems are included in this gemset:
gem listThis should give you a fairly long list of gems that are currently included in your global gemset.
Lastly, you'll want to update any gems in your gemset that are out of date. Run the following command to do this:
gem updateNext up, we will learn how to install the Rails gem, which is the main topic of this course!
Step 7: Install the Ruby on Rails Gem
Before we can install the Rails gem, it has two dependencies that we need to make sure are installed.
The first is the bundler gem, which can be installed with the following command:
gem install bundlerThe second gem that we need to install before Rails is nokogiri, which provides functionality for interacting with outside data sources in Ruby. nokogiri can be installed with the following statement:
gem install nokogirinokogiri is a huge gem. Because of this, it could take a great deal of time for it to install. Please exercise patience after executing the gem install nokogiri statement.
Now that bundler and nokogiri have both been installed, our computer is prepared to install Rails!
There is nothing special about Rails from a dependency management point of view. Rails is just another Ruby gem.
Accordingly, Rails can be installed with the following statement on your command line:
gem install railsStep 8: Install PostgreSQL
The last step that you'll need to complete to configure your computer for this course is to install PostgreSQL, which is a relational database that can be queried with the SQL programming language.
In layman's terms, PostgreSQL is the database that we will use to store the data for our website. This data could be usernames, passwords, blog content, or images.
To install PostgreSQL on Mac, one of the easiest ways is using Homebrew and running the following statement on the command line:
brew install postgresFinal Thoughts
In this lesson, we worked through the necessary installations and configurations that you will need in this course. Specifically, here is what we covered:
- How to install the X-Code command line tools
- How to install git
- How to install Homebrew on your Mac
- How to install the GNU Privacy Guard, often called the GPG
- How to install and use the Ruby Version Manager (RVM)
- How to install and configure your RubyGem library
- How to install the
bundler,nokogiri, andrailsgems