
Before we can begin this course, you’ll need to download Anaconda.
What is Anaconda? Anaconda is a distribution of Python.
That probably doesn’t mean very much unless you’re already a Python expert....so let’s define what a distribution is, too.
A distribution contains various Python libraries (which are chunks of code that help you build applications). A distribution ensures that these libraries work well together.
Said differently, some of the more complex libraries that we’ll be using in this course have certain dependencies. Anaconda makes sure they work well together!
Anaconda also comes with the Jupyter Notebook application installed, which is the environment that we will be using to run and test our code.
A Word For Experienced Developers
Before we dig in, it’s worth noting that you do not necessarily need to use Anaconda to benefit from this course. If you’re an experienced Python user and want to skip using both Anaconda and the Jupyter Notebook, please feel free to use a different environment of your choice (like VS Code or vim). If you want to use the Jupyter Notebook but NOT Anaconda, you can install the Jupyter Notebook application using the following command:
pip install jupyter
Once that install has been completed, you can open a Jupyter Notebook using the following command:
jupyter notebook
With that out of the way, let’s dig in to how to install Anaconda!
How to Install Anaconda
The easiest way to do this is by running a Google search for something like “download anaconda python.” I navigated to the first link on this search:
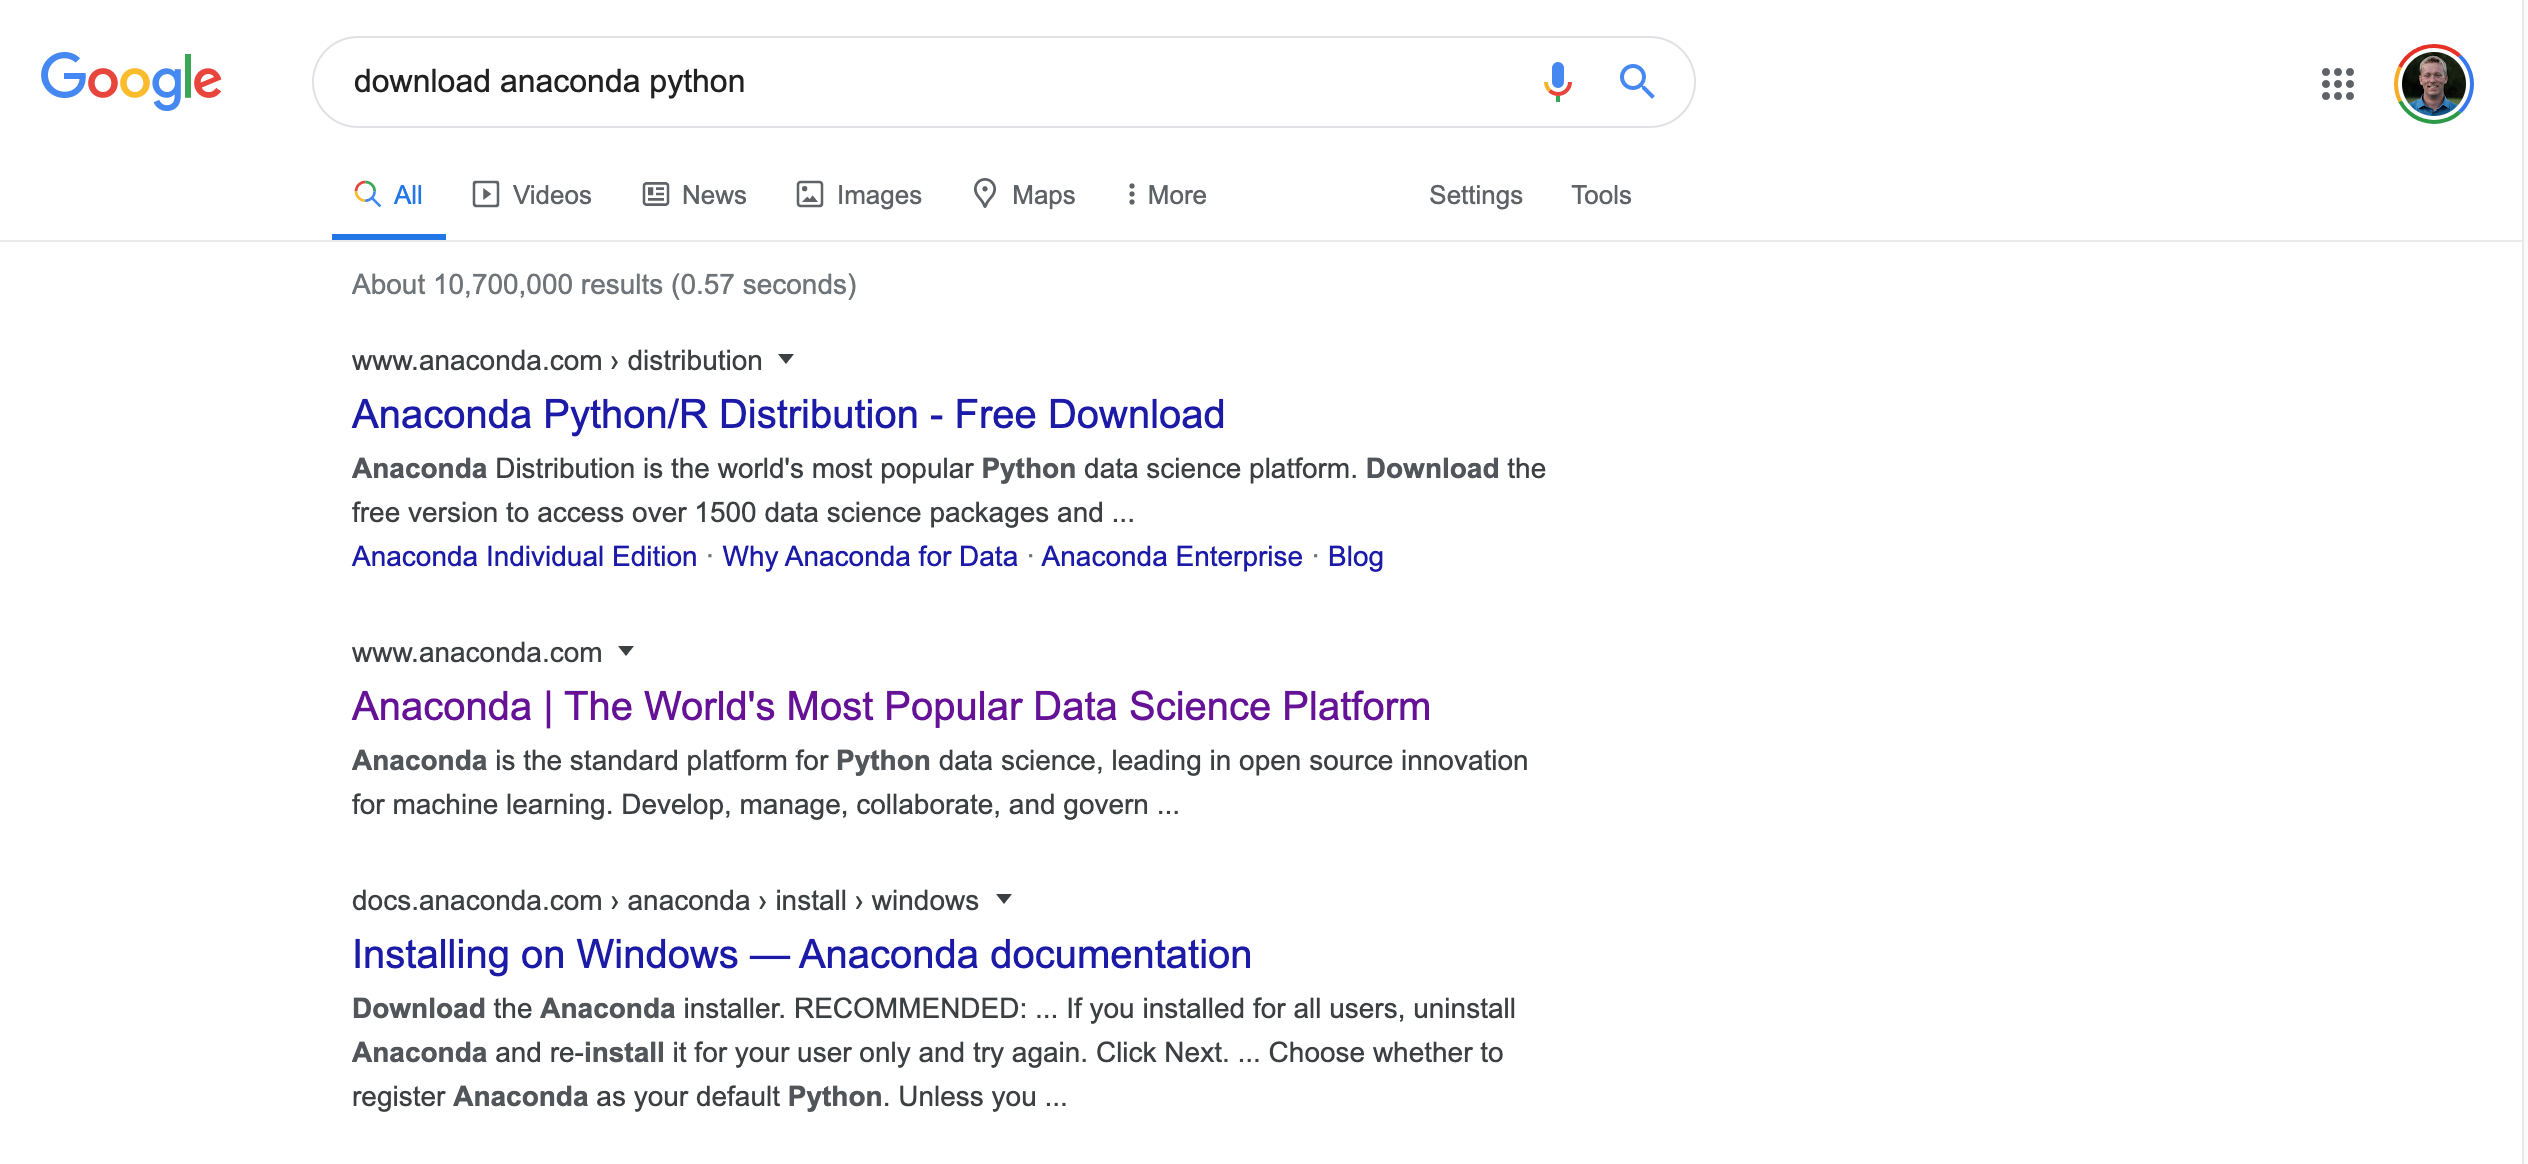
This brought me to the following page:
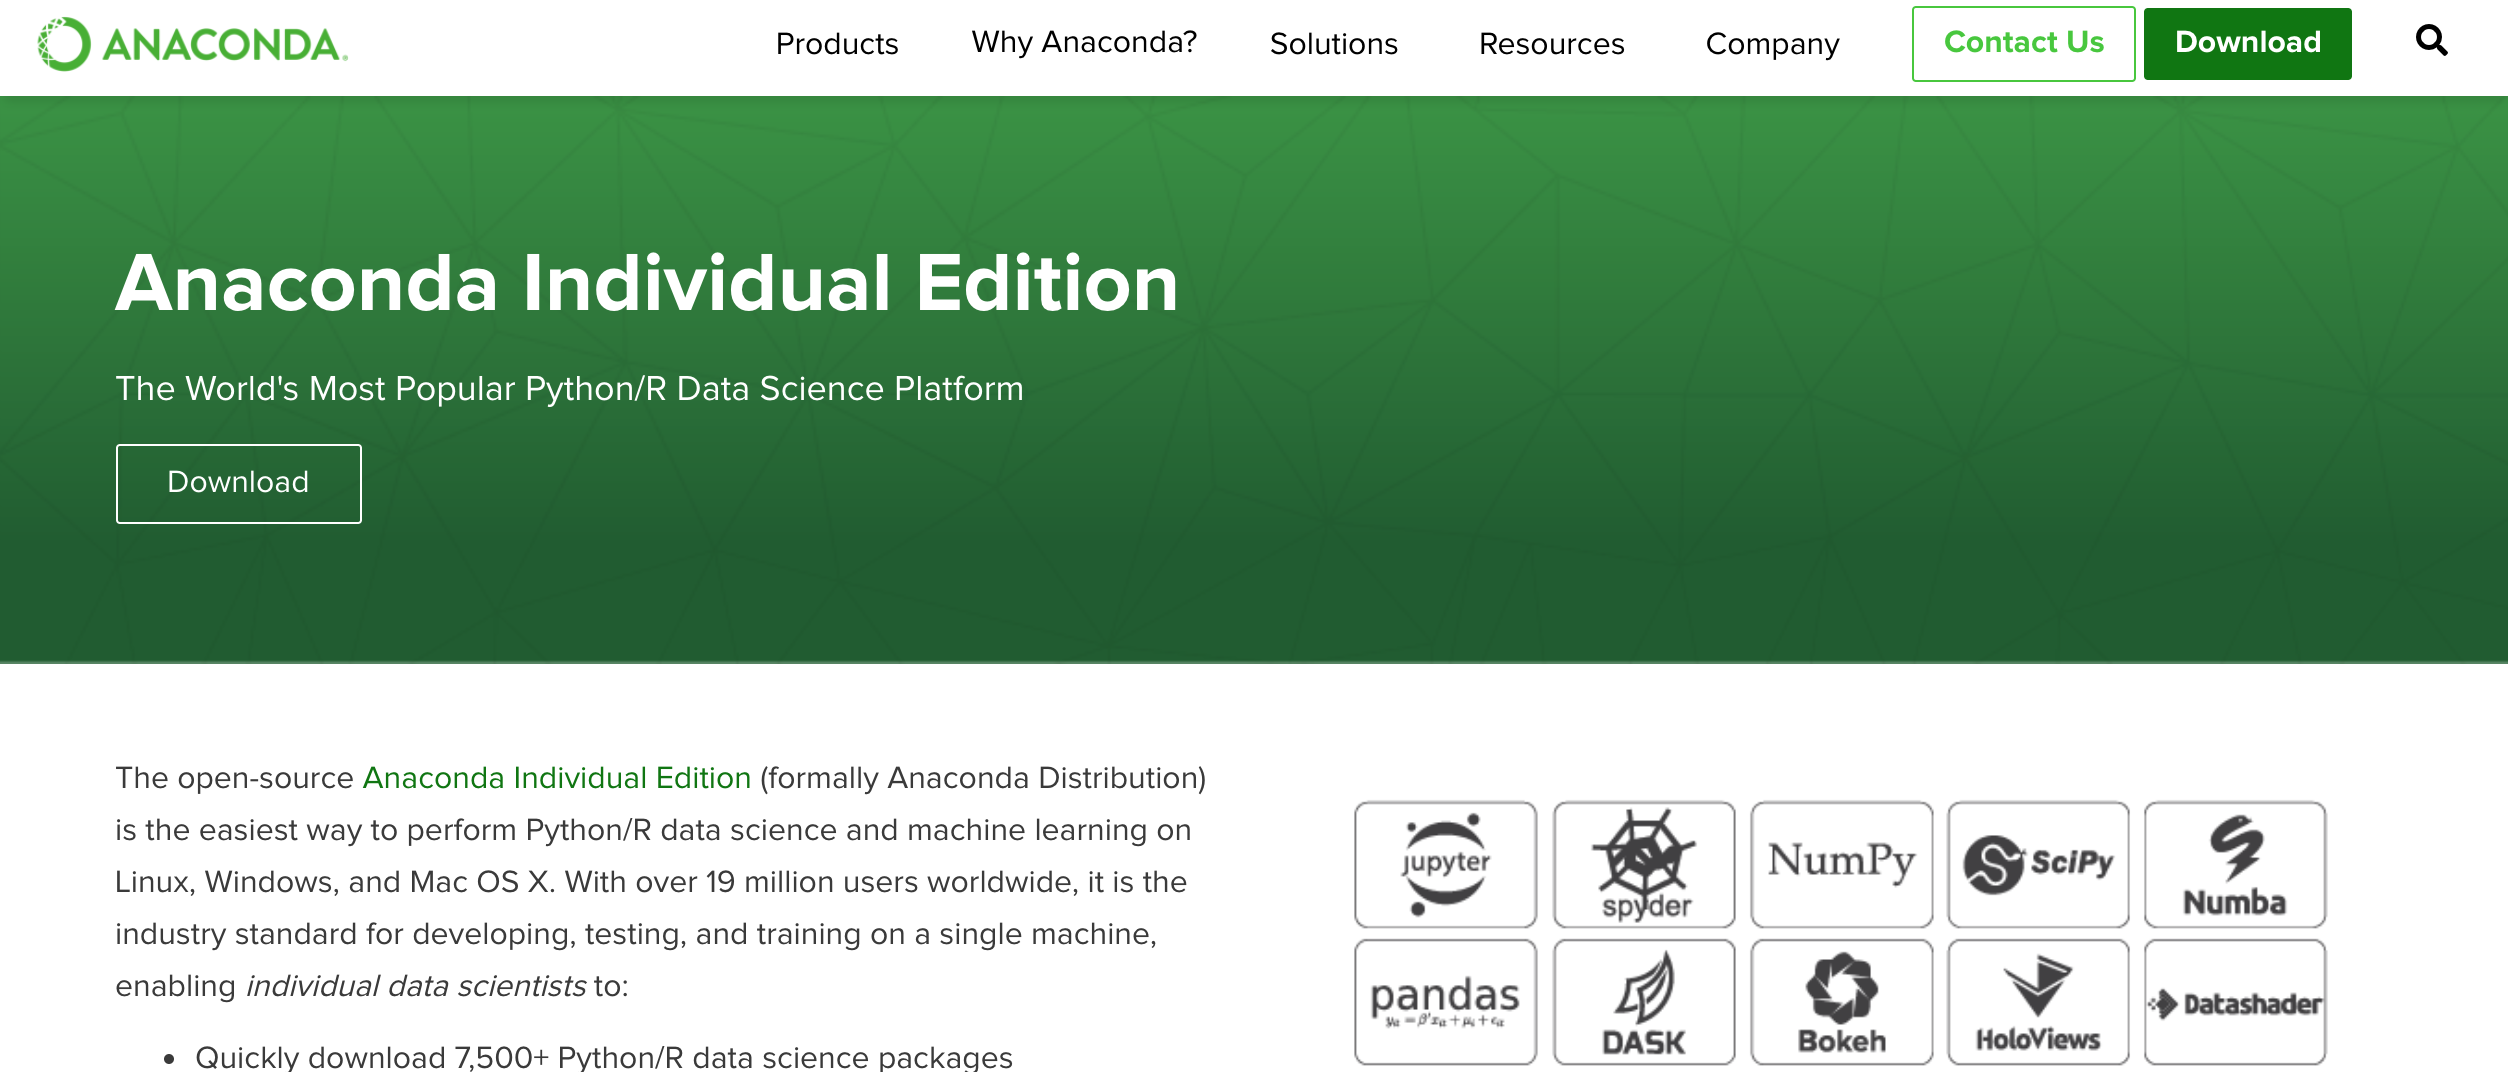
Click the large ‘Download’ button to proceed. This will bring you to a page asking you to select between the Python 3.7 and the Python 2.7 version of Anaconda.
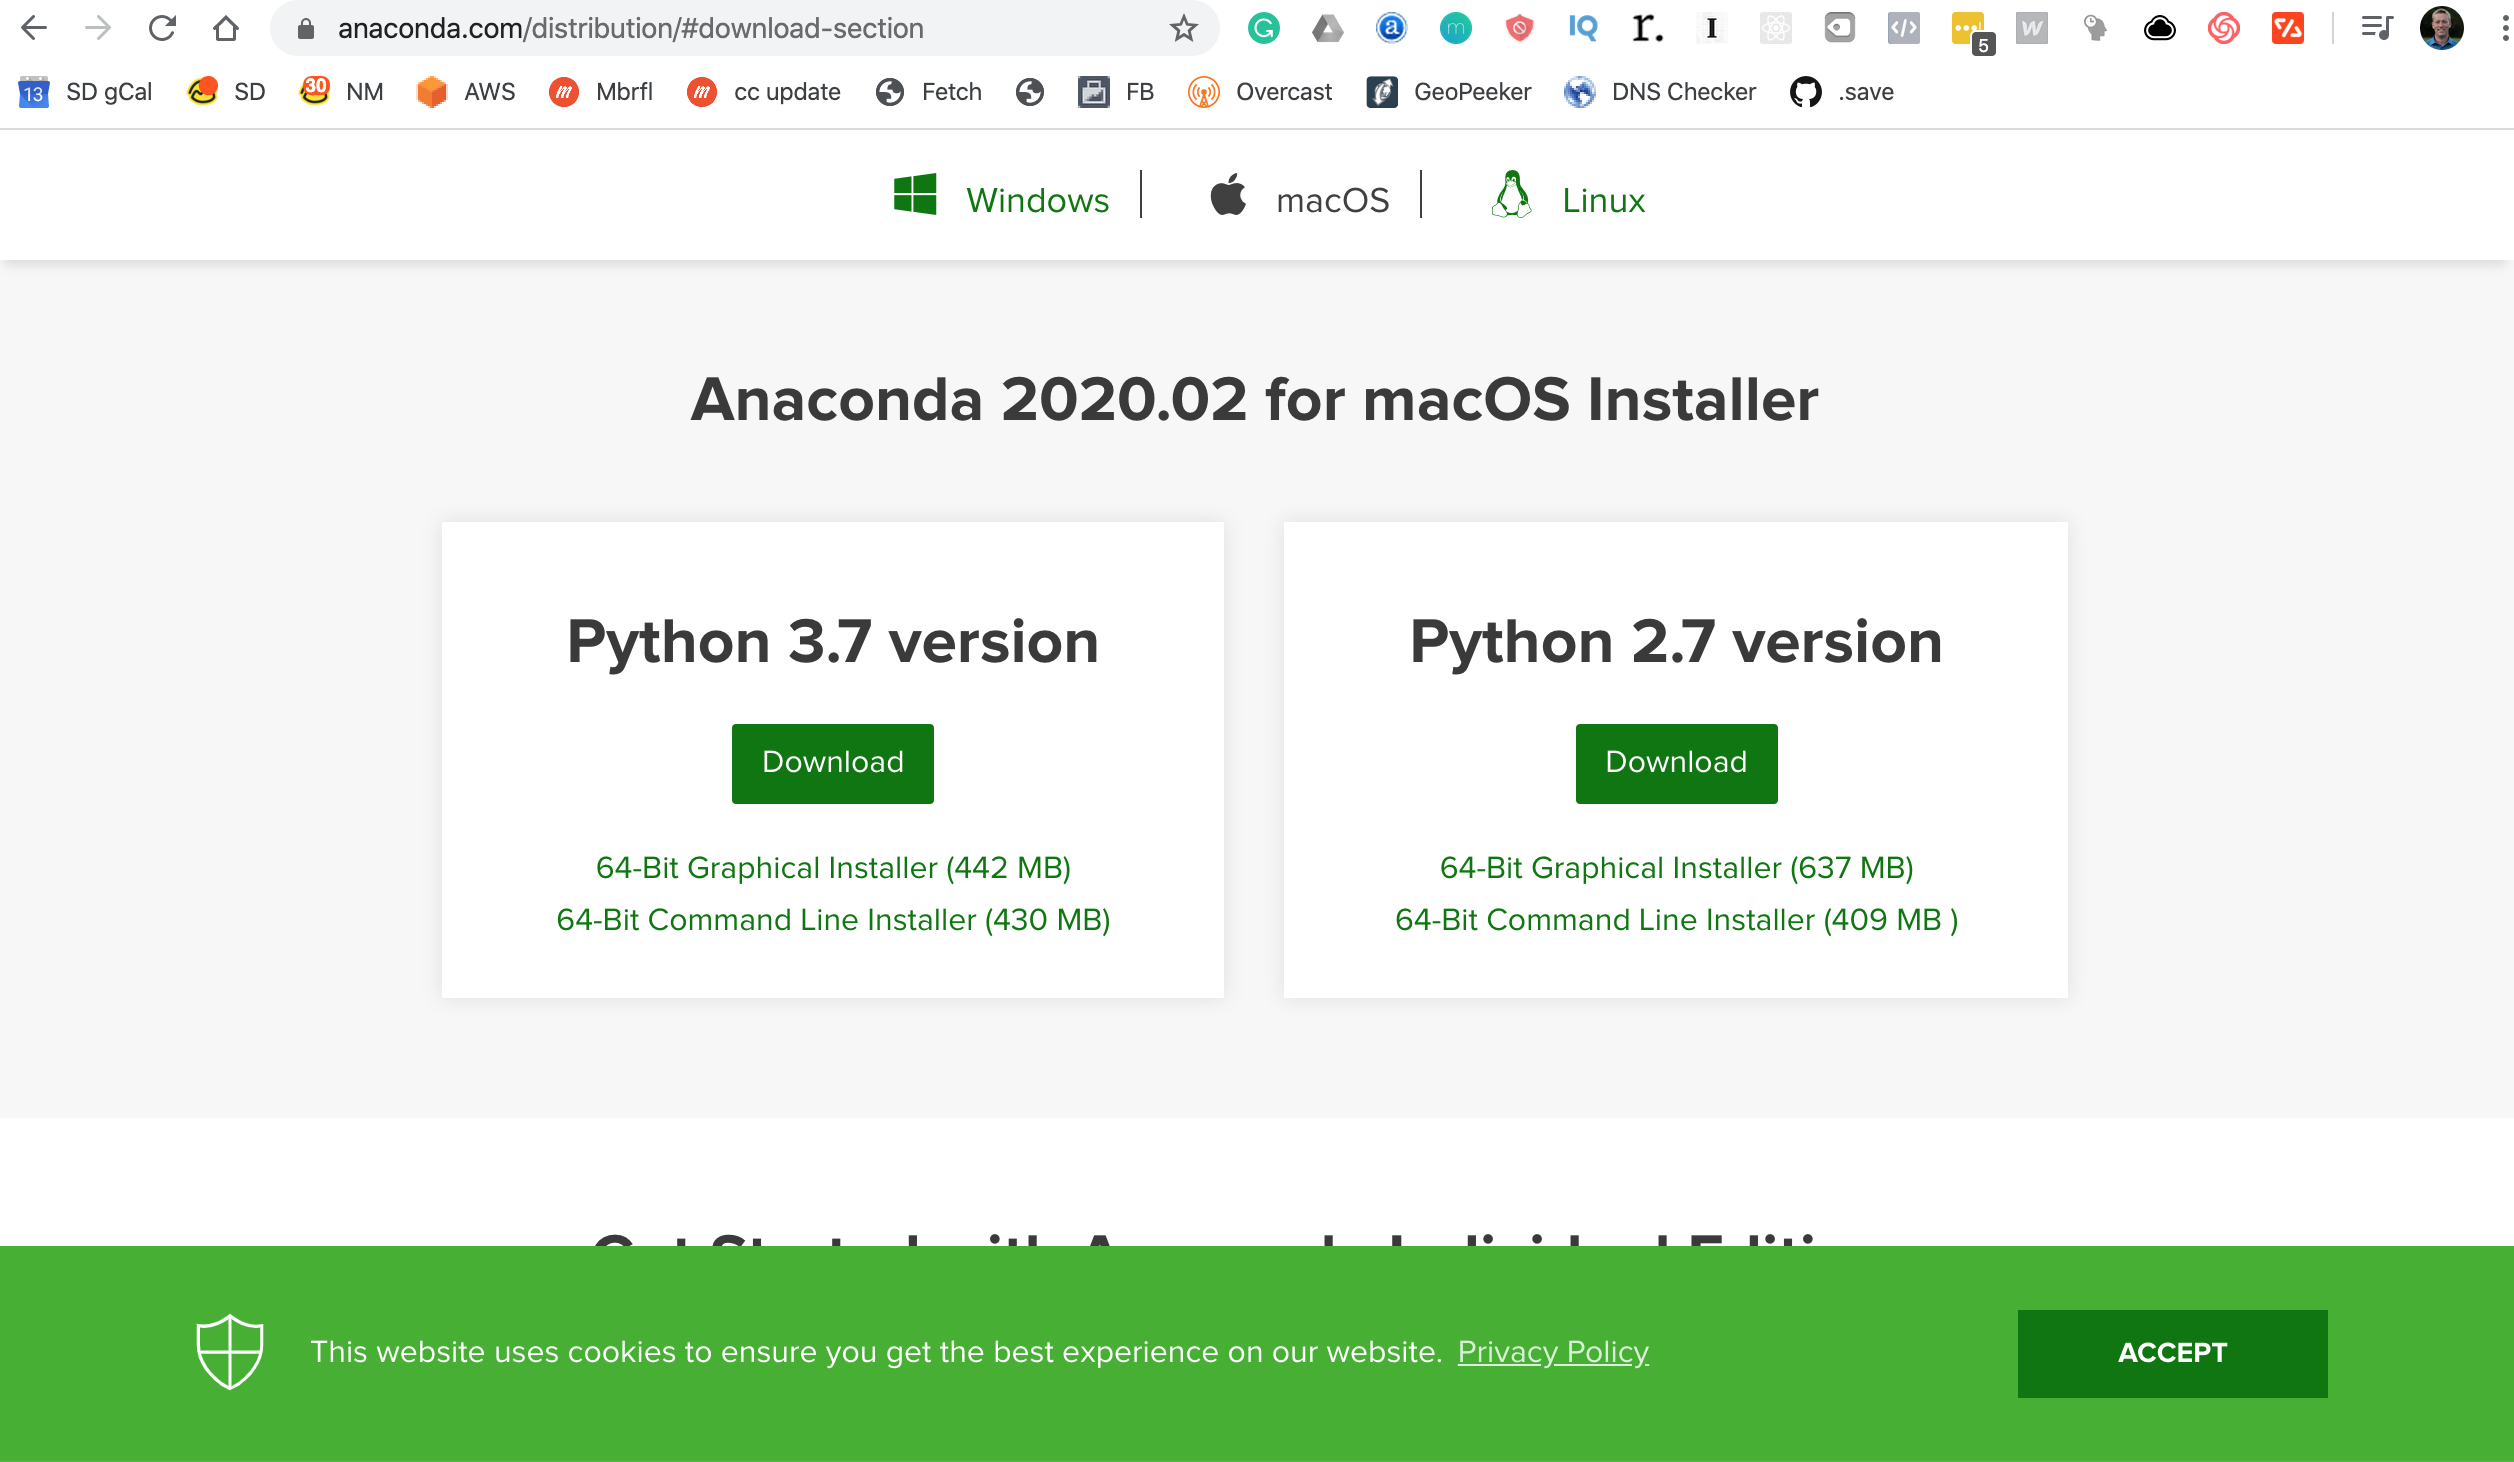
Note that these versions may change after this course is published.
What are the differences between Python 2.7 and Python 3.7? Like most technologies, Pyhton is continuously improved over time and they make small changes regularly to improve the programming language.
If you’re learning Python today or building a new project, you should always use Python 3. The only time you should ever use Python 2 is if you’re working on a legacy project that is already built on Python 2 (and therefore not compatible with Python 3).
With that out of the way, click on the download button below the Python 3.7 Version header. This will download a large (442 MB) .pkg file, which may take a minute or so to complete.
Once the download is complete, navigate to your Downloads folder and click on the .pkg file. You may receive a warning like this:
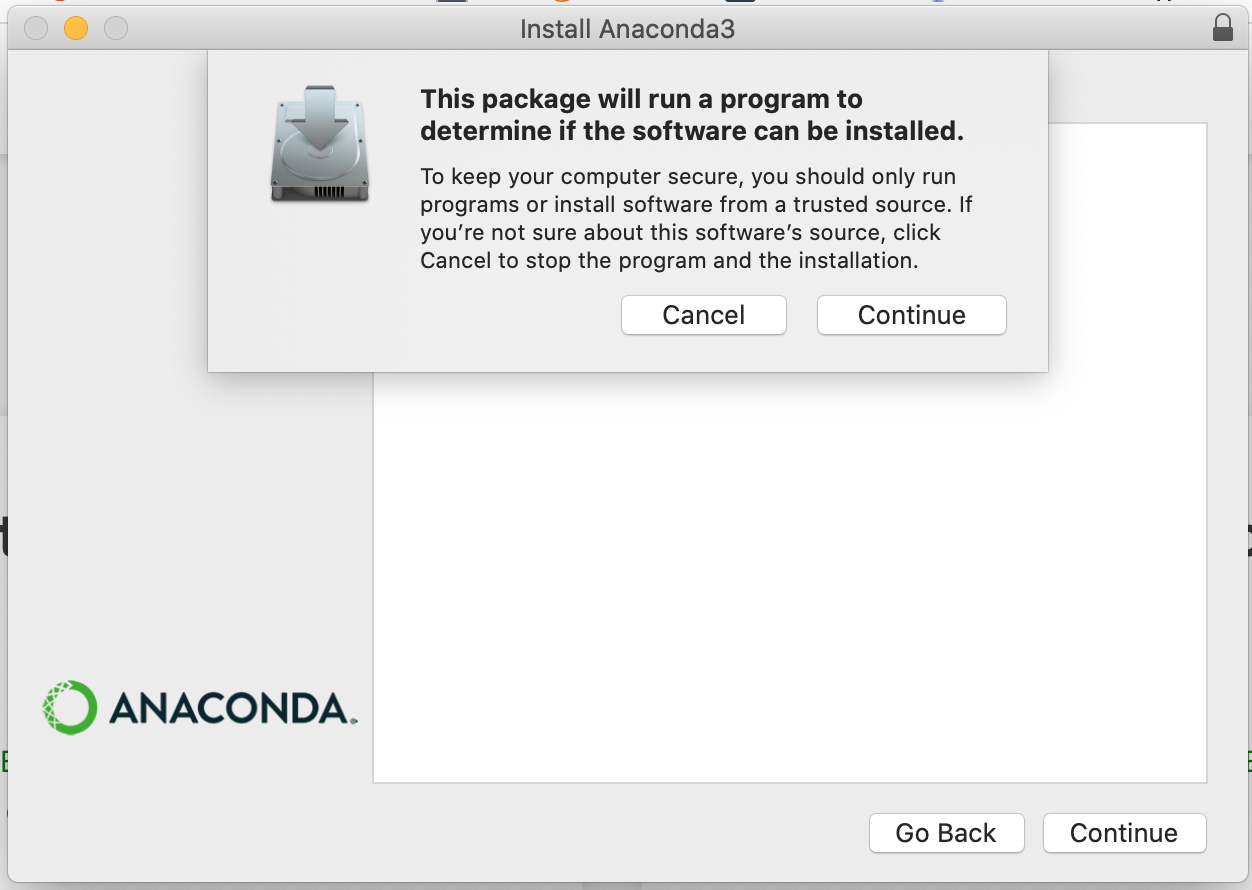
Click ‘continue’ to proceed.
You will now be guided through the regular steps of installing third-party software, including reading the end user license agreement and choosing a directory for the application.
Once this is complete, you’re ready to open your first Jupyter Notebook!
Using the Jupyter Notebook
The Jupyter Notebook is an open-source web application that allows you to write and execute code and visualizations. It is widely used in the Python community, especially for any projects working with large data sets.
In my opinion, the Jupyter Notebook is the most beginner-friendly environment to learn to code from scratch - which is why I used it for this course!
Once Anaconda is installed, you can open your first Jupyter Notebook very easily:
- Open the Anaconda-Navigator application from the folder where you installed it. It will look like this:
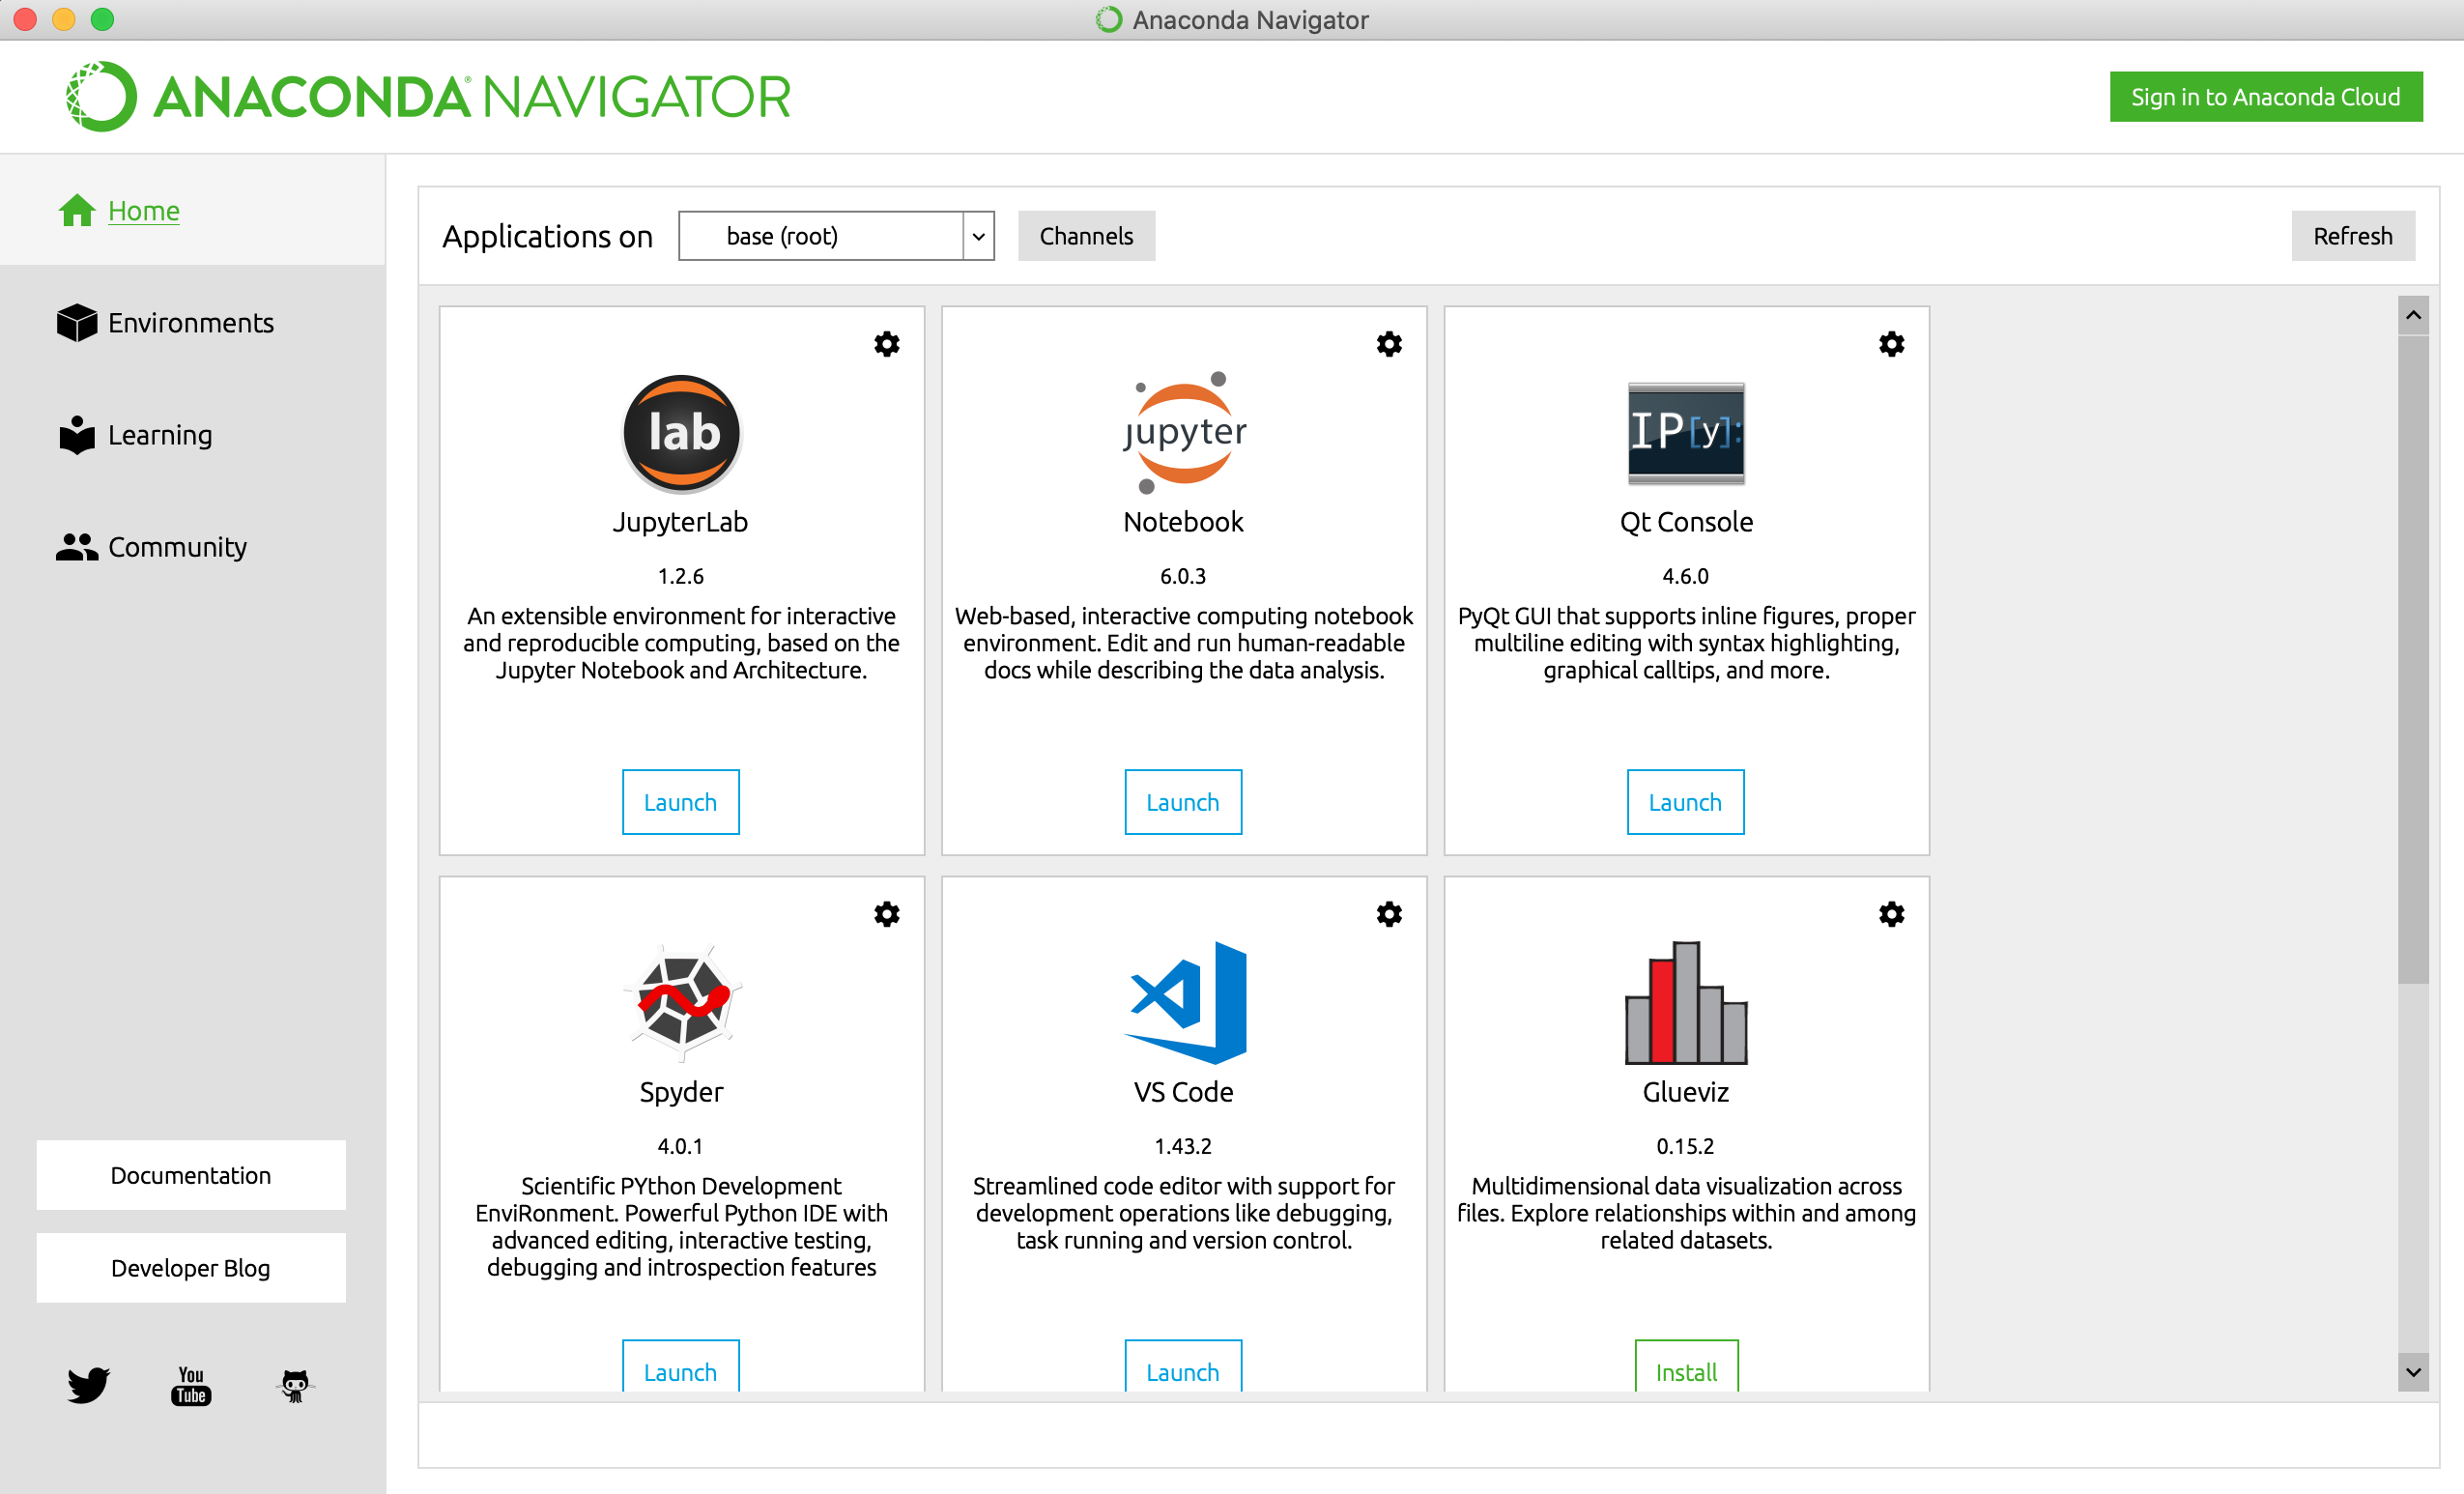
- Click the ‘Launch’ button below the Jupyter Notebook icon.
- This triggers two events: first, a terminal window will open to run the backend of the Jupyter Notebook, and a new browser tab will open that actually presents the Jupyter Notebook to the user. The Notebook will look like this:
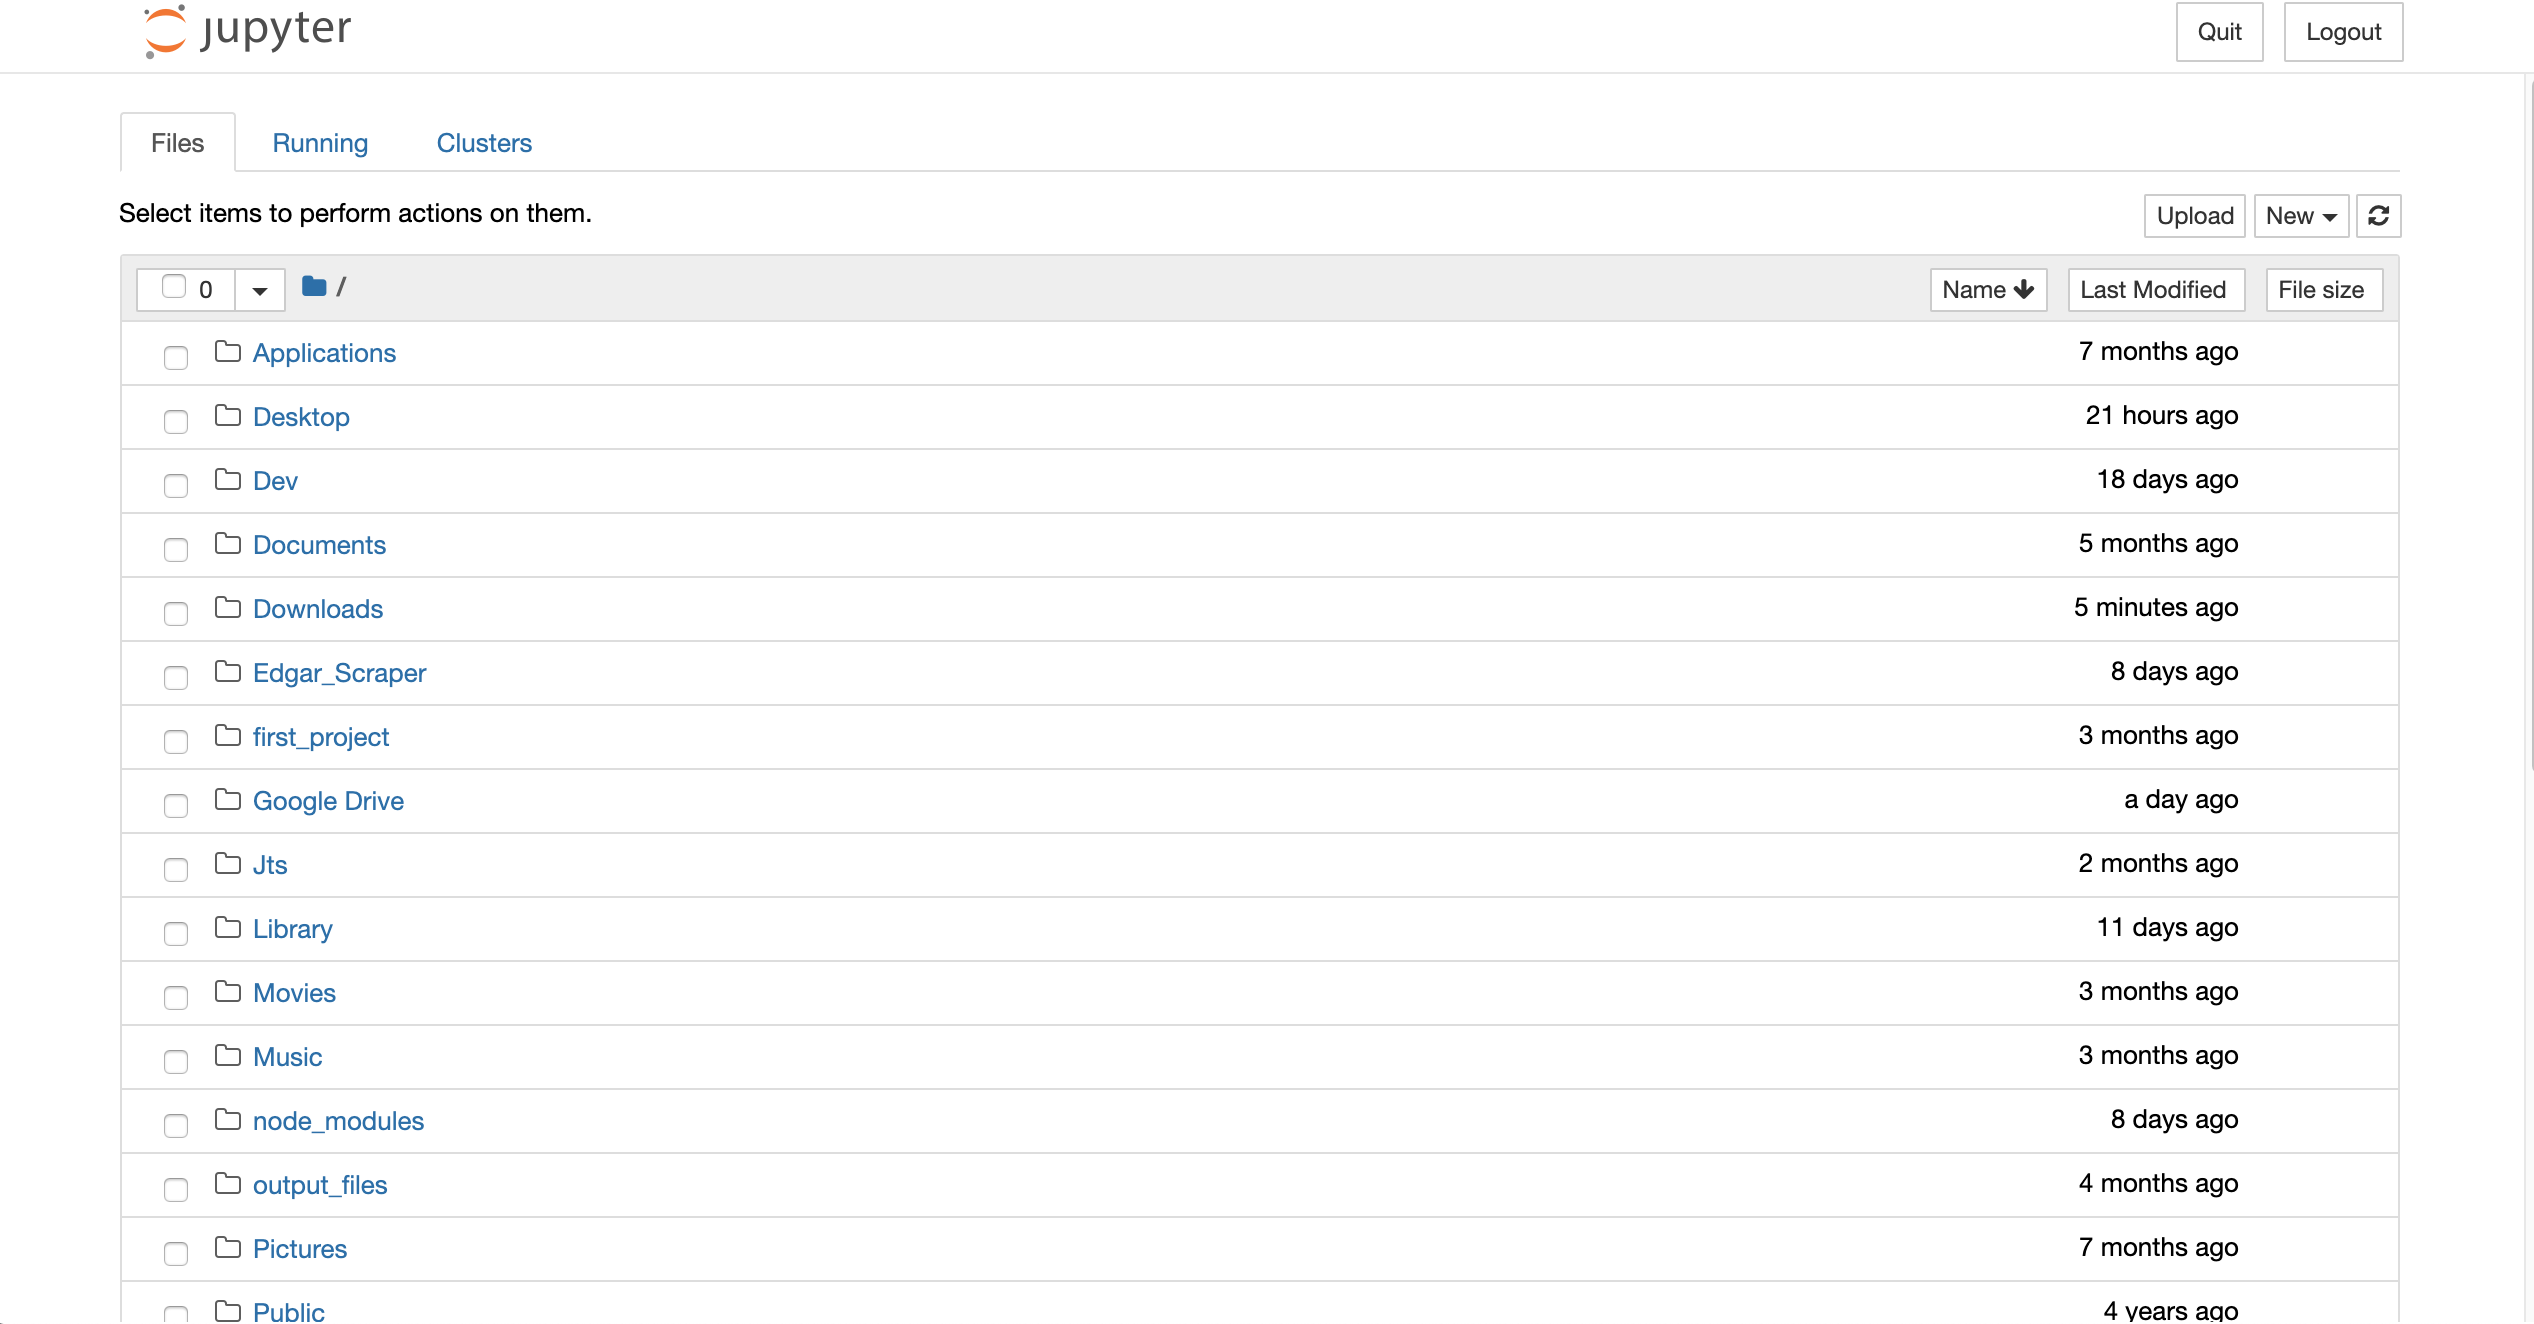
This isn’t yet a Jupyter Notebook - instead, it is the directory manager through which you navigate folders to a Jupyter Notebook.
To open your first Jupyter Notebook, first navigate to the folder that you want to work in for this course. I would recommend creating a dedicated folder to keep all of your documents organized. Once you’ve navigated to your desired folder, click “New” in the upper-right corner and then “Python 3’ for your type of Notebook.
The resulting Notebook will look like this:
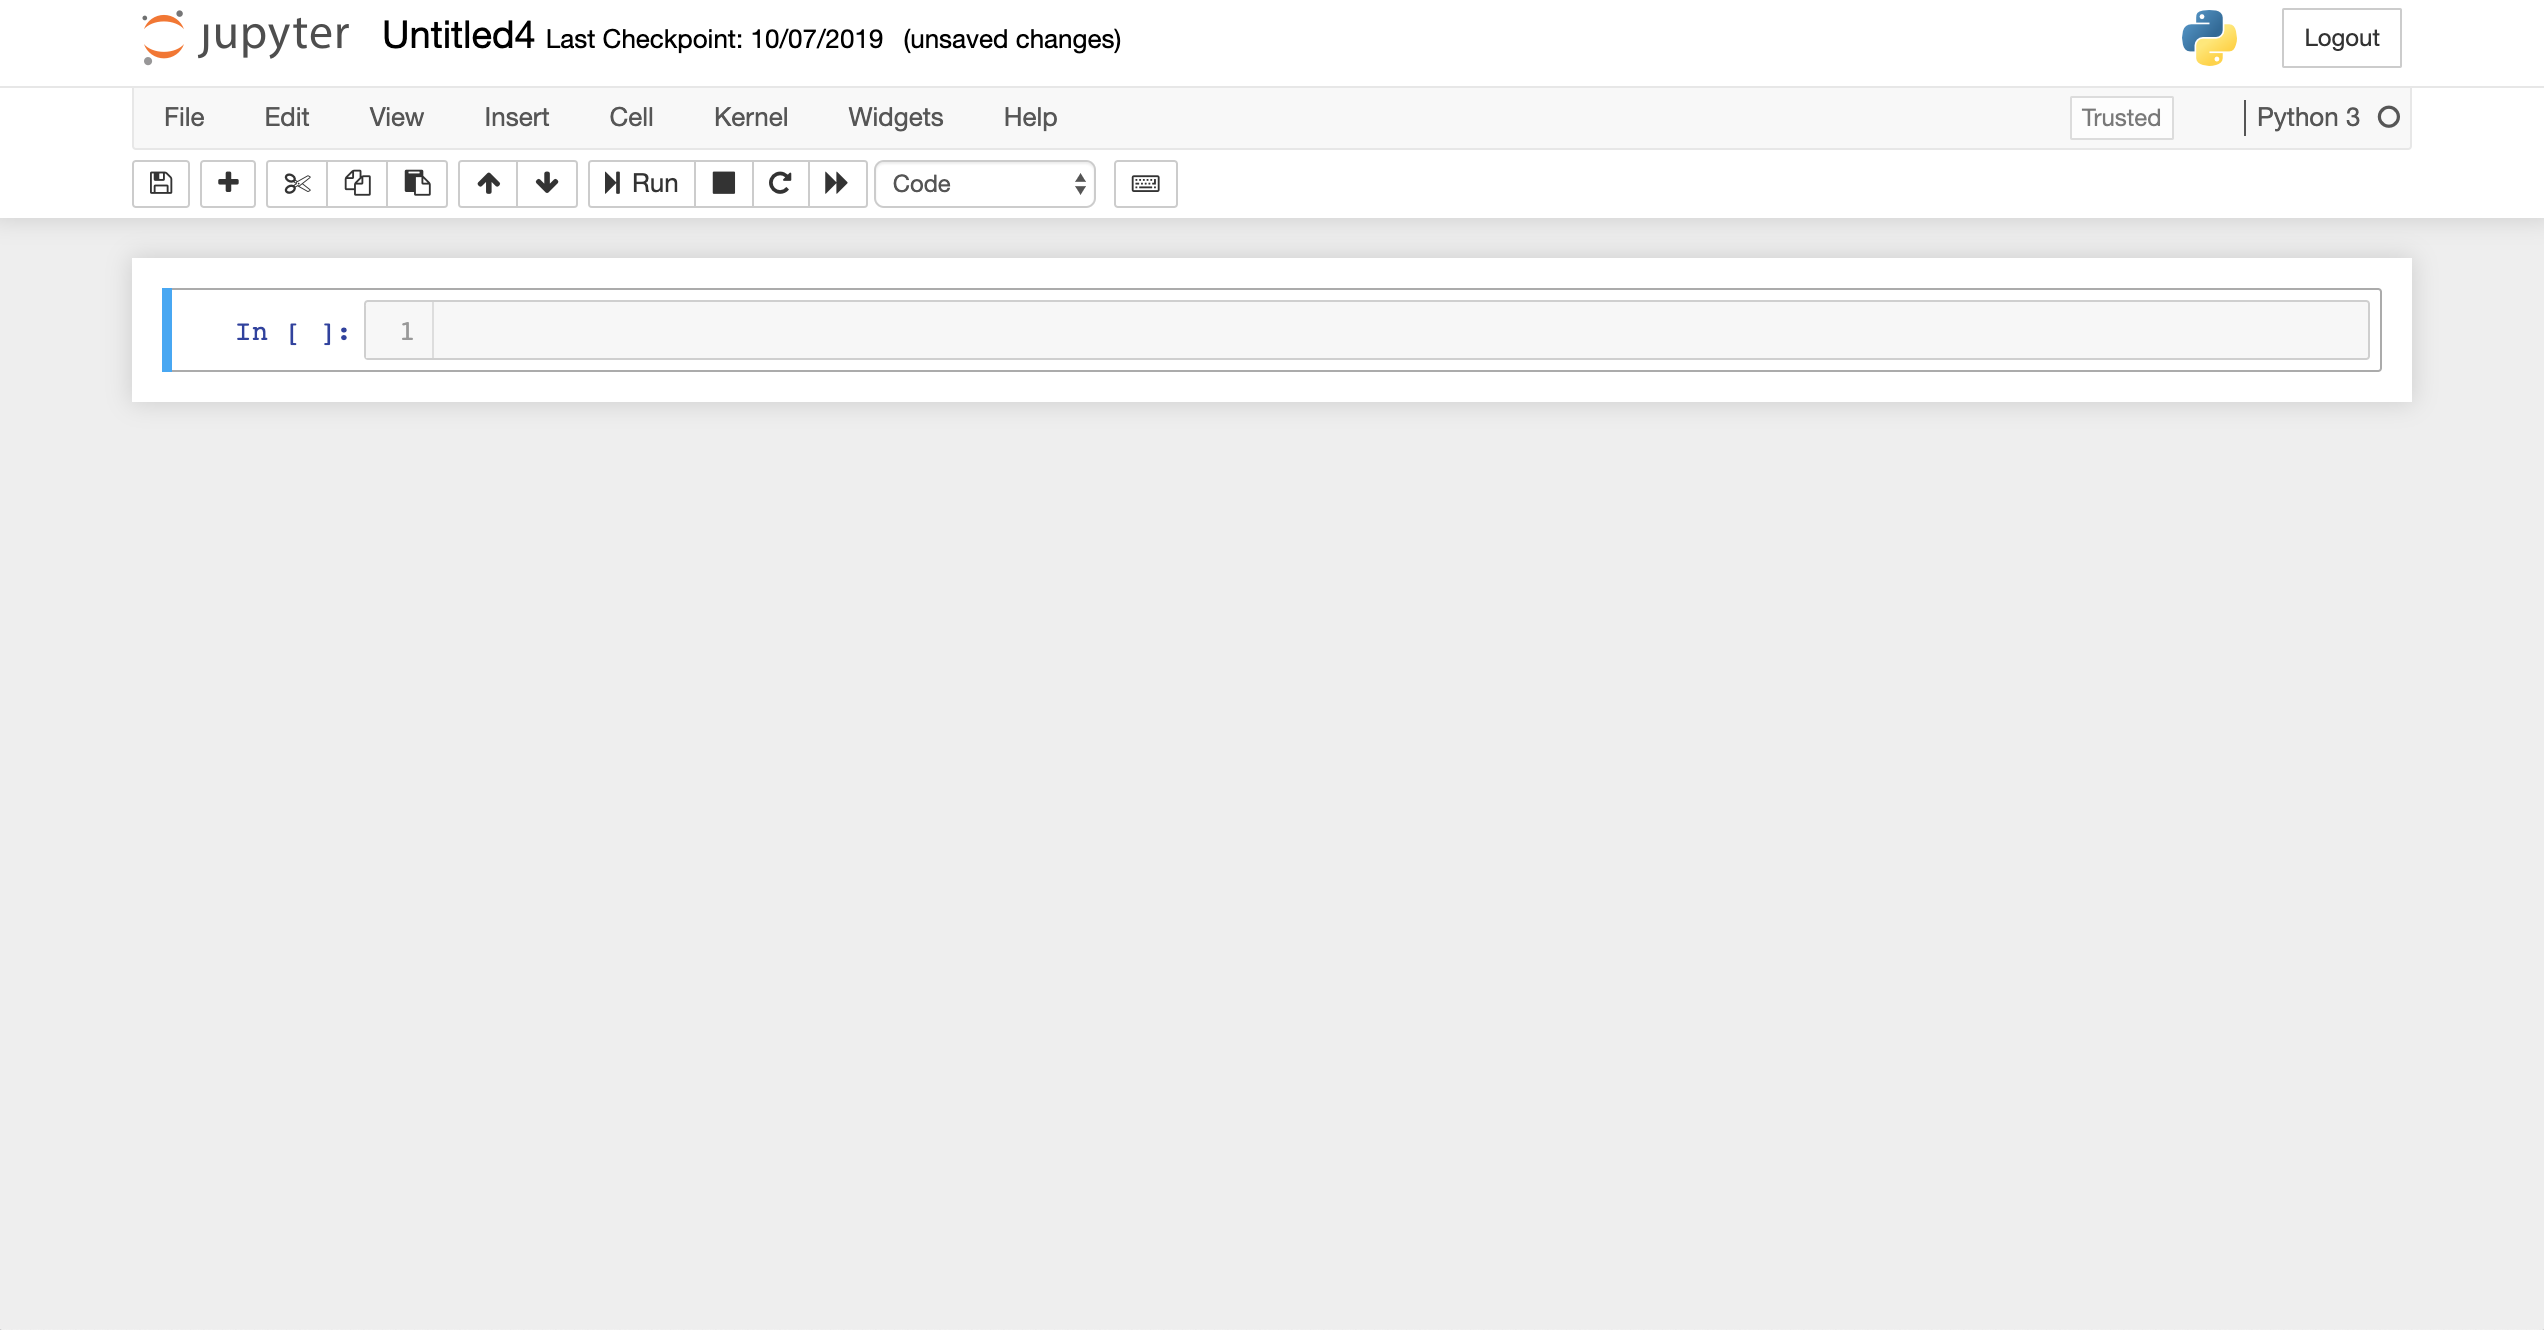
That’s all for this lesson. In the next lesson, we will explore the Jupyter Notebook in more detail.